Ready to print
Get the files
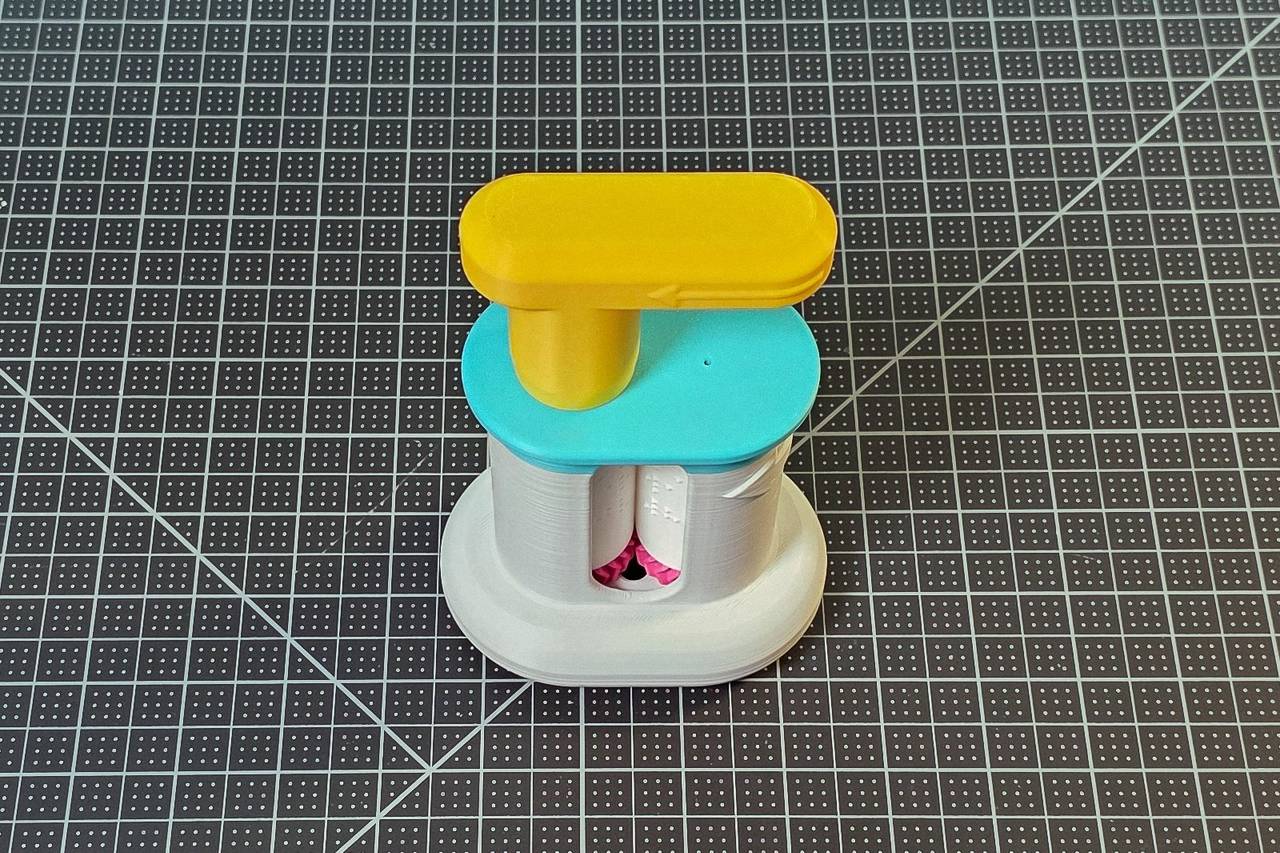
Version 2 is the second design of the Custom Braille Card Embosser, a hand-turned press that embosses permanent raised braille onto business-card stock. Many of the people who printed Version 1 were kind enough to say what needed to change to make it more accessible, and Version 2 is the result of their feedback: an embosser a blind or low-vision user can assemble, load and work unaided, and one for a sighted helper, a teacher, a parent or a caregiver who needs a few lines of braille without a commercial brailler.
It is nine 3D-printed parts plus two cylinders generated from your text. There are no off-the-shelf parts, fasteners, springs, glue or electronics: every part snaps or slides together by hand, and the cost is a few dollars of filament plus card stock.
What changed from Version 1
- A wrong assembly is nearly impossible. Each of the four gears has a differently shaped peg, and each end of each cylinder has a hole that takes one peg only, so a gear fits only where it belongs, and trying is a fair way to find the right one.
- Built to be assembled by touch. Each cylinder carries a column of triangles down its side, raised on one and sunk into the other, that nest when the pair is lined up; both top gears carry a cross that marks the side facing up; and raised arrows on the Base show which way the card travels and which way its printed top row goes.
- A tactile assembly map. Six printed plates carry the outline of every mating face, the keyholes, pegs, bumps, dents and notches, at true size, each numbered with a raised numeral, an edge-notch tally and its number in braille, so the parts can be learned by touch before the build.
- A one-piece Base with the grip built in, and an optional Push-out Plate that lifts the cylinders out when the message changes.
- A seam channel on the cylinders gives the slicer somewhere to hide each layer’s seam, so it never lands on a braille dot.
Cylinders made for Version 1 do not fit: Version 2’s are 30.8 mm across and 54 mm tall.
Making the cylinders
The message is not on the device. It is on the pair of cylinders, so changing it means printing a new pair. Make them in the web app linked above: choose Version 2 under Embosser setup, type your text, and download both cylinders in one file. The translation runs on your device with Liblouis, the open-source braille translator used by screen readers and braille displays, in more than fifty languages and in contracted or uncontracted braille; if you read braille yourself, the translation lands in an editable field first, so you can change any cell before generating. Nothing you type leaves your browser. The same generator is also an OpenSCAD file for offline use, from the source link above; it takes braille characters rather than text, so the translation is then yours to supply. A double-sided pair embosses both faces of a card in one pass.
Printing
The nine parts print with a printer’s default 0.2 mm profile, supports off: from the sliced Bambu Lab X1C projects in the download, about 6 hours and 188 g of PLA (polylactic acid) on one plate. A cylinder pair prints better at 0.12 mm layers or finer with the Arachne wall generator, about 2 hours 46 minutes and 37 g. The tactile assembly map’s six plates take about 4 hours 25 minutes and 173 g over three beds.
Using it
Turn the Handle to its home position, lay the embosser on its side with the slit up, drop a card in, turn about half a turn, then turn the embosser over and keep turning until the last row has come out of the window. With the card still held in the cylinders, roll back and forward over the rows twice more, then let it out. The pair is made for 0.4 mm card, which is most business cards; if a pair punches holes instead of leaving rounded dots, the User Guide says when to generate one at 0.3 mm.
The guides
The download carries seven guides as tagged PDF (portable document format) files with every picture described, numbered by the step they belong to. Step 1, making the cylinders: a Web Generator Guide and an OpenSCAD Generator Guide. Step 2, the build: a short Maker Guide, an Assembly Guide By Touch that says every step for the hands so the embosser can be built without sight, a Visual Assembly Guide without words, and the key to the tactile assembly map. Step 3: a User Guide. They follow the Makers Making Change Open AT (open assistive technology) documentation template. Version 2 is published as STL (stereolithography) files; Version 1 remains available with its CAD (computer-aided design) source and video tutorials.
If you build one, tell me what confused you in a comment on the listing: that is the most useful thing I can hear.
Photo gallery
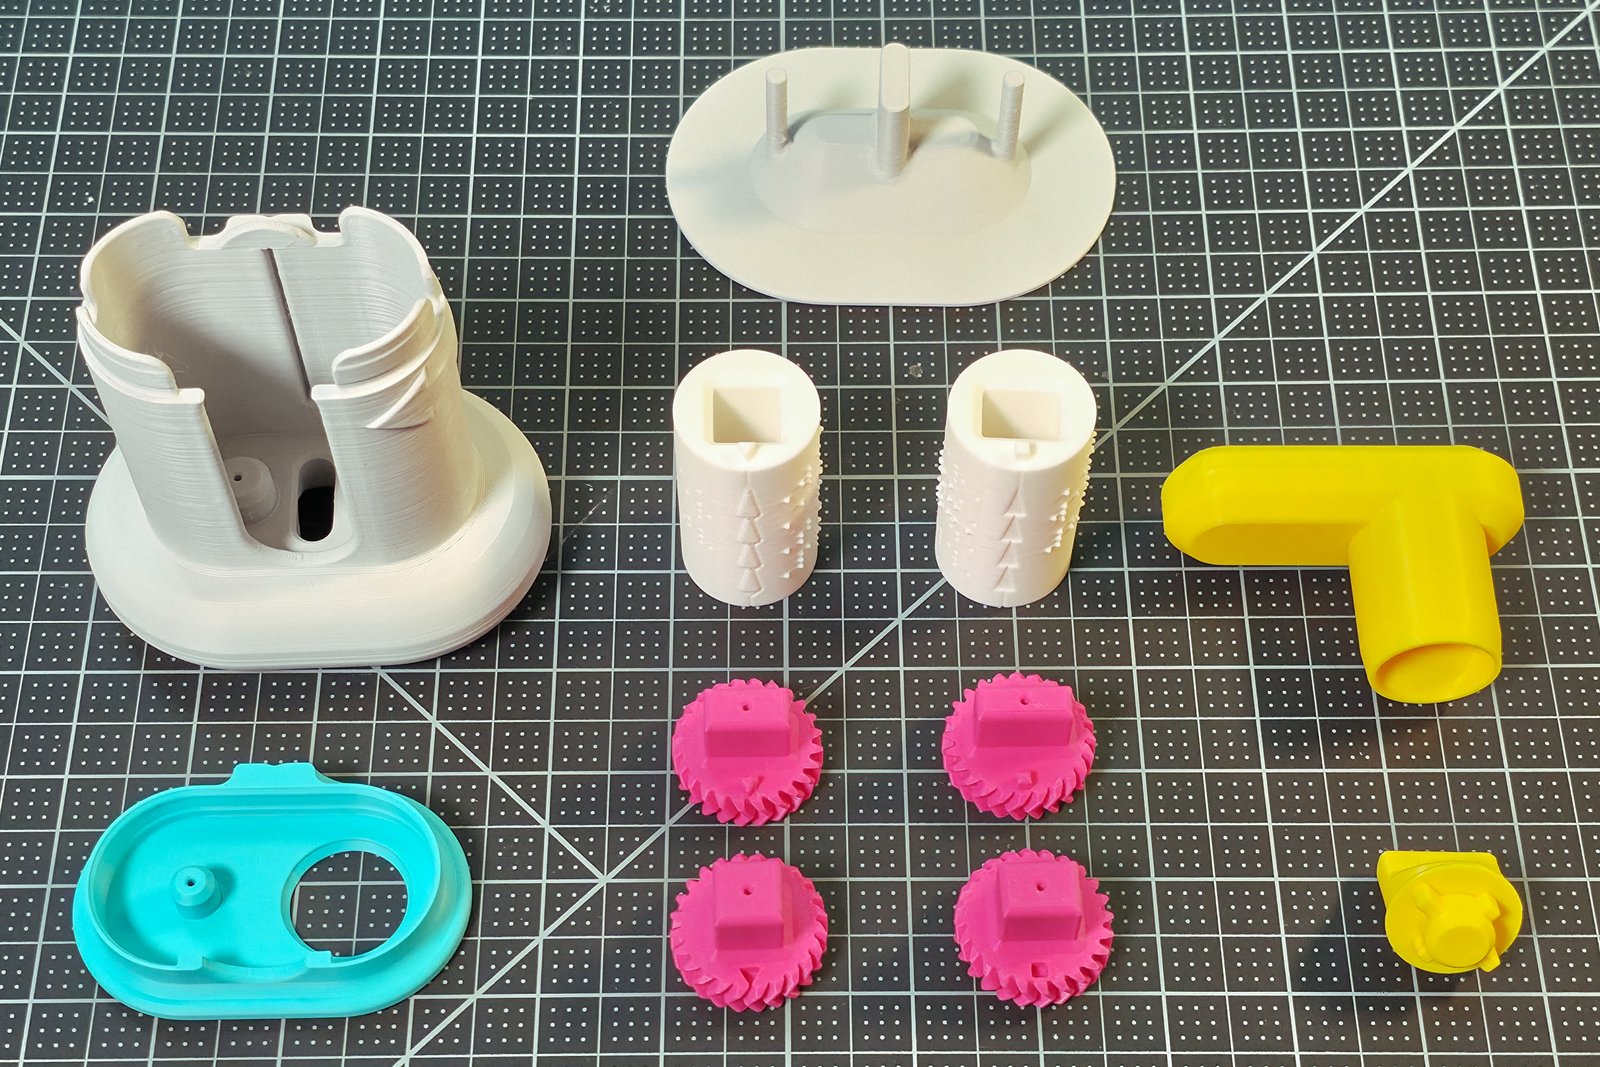
Every part before assembly. The two cylinders carry the message; everything else is printed once.
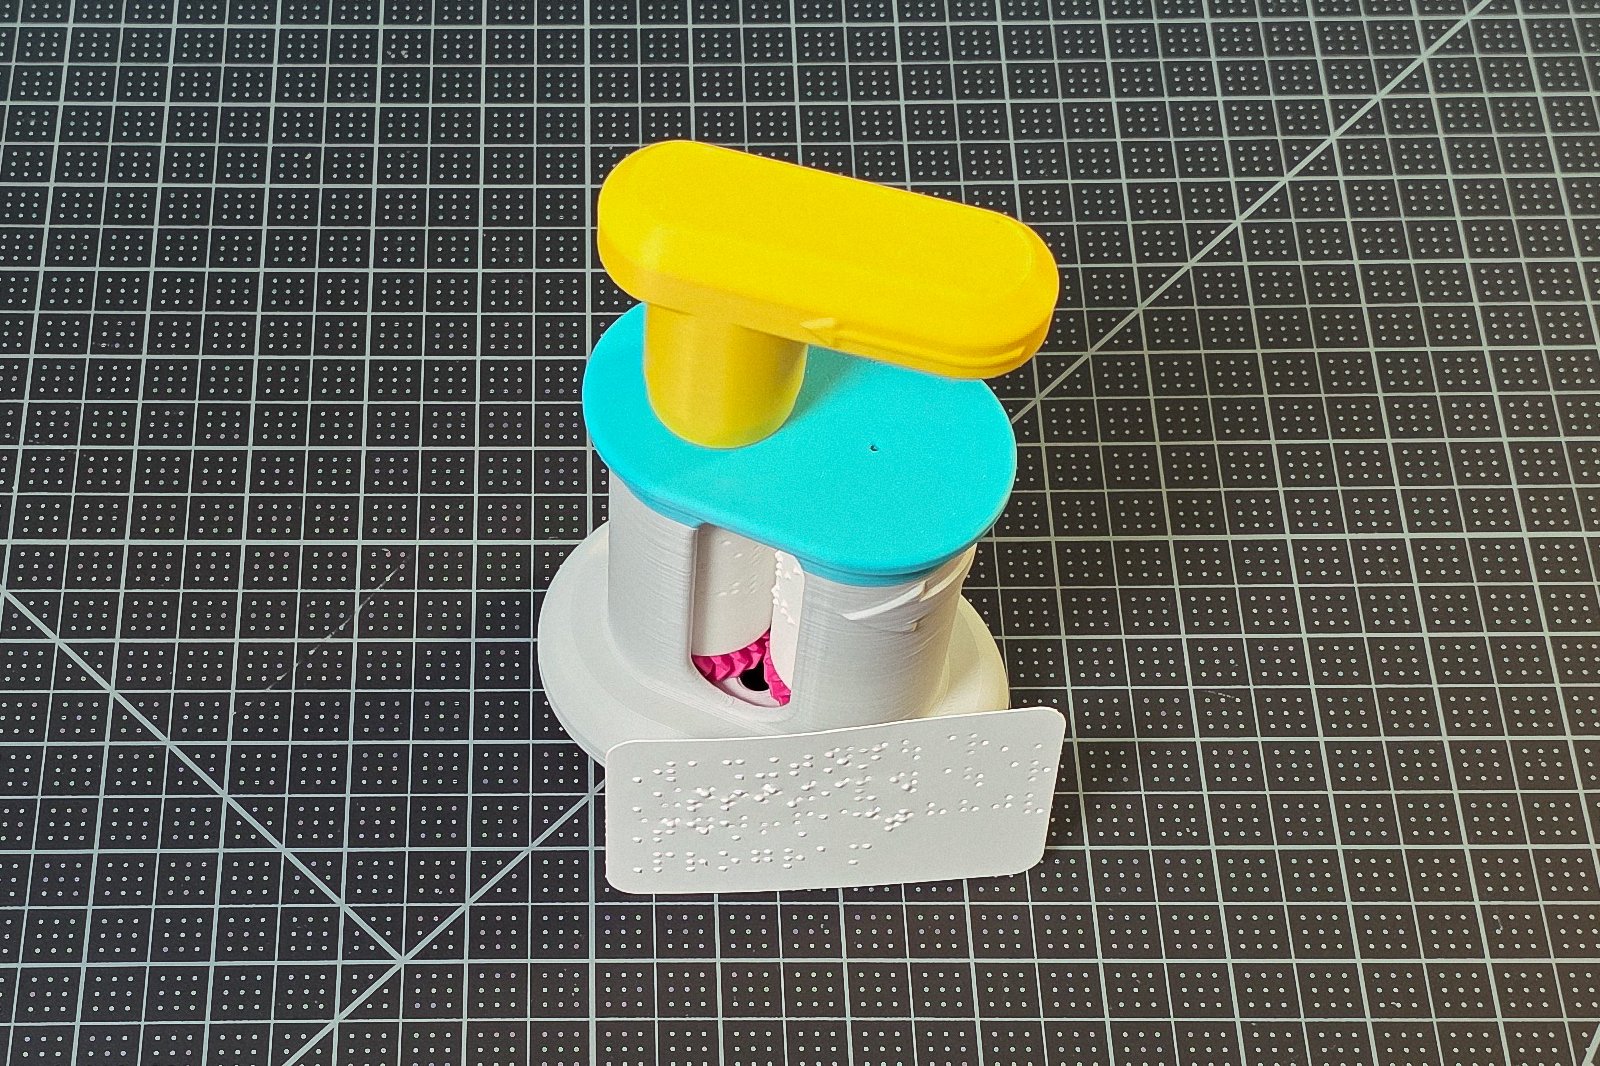
The finished embosser with a card it embossed.
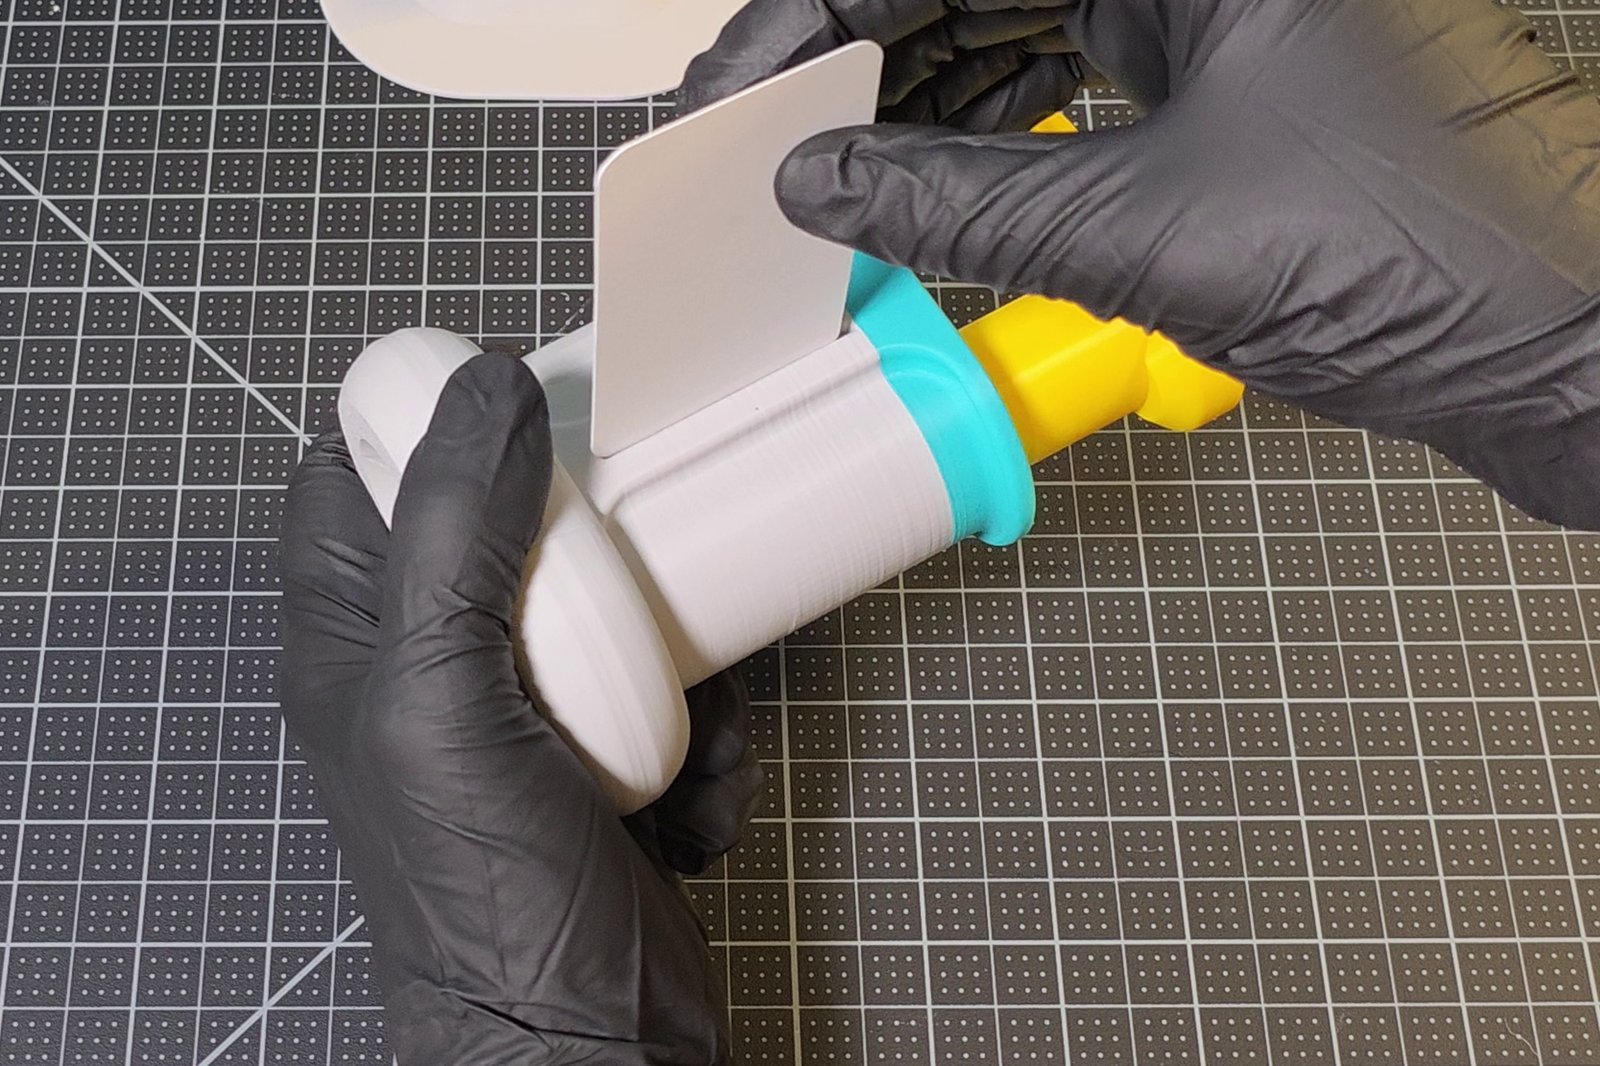
Loading a card: the embosser lies on its side with the slit up.
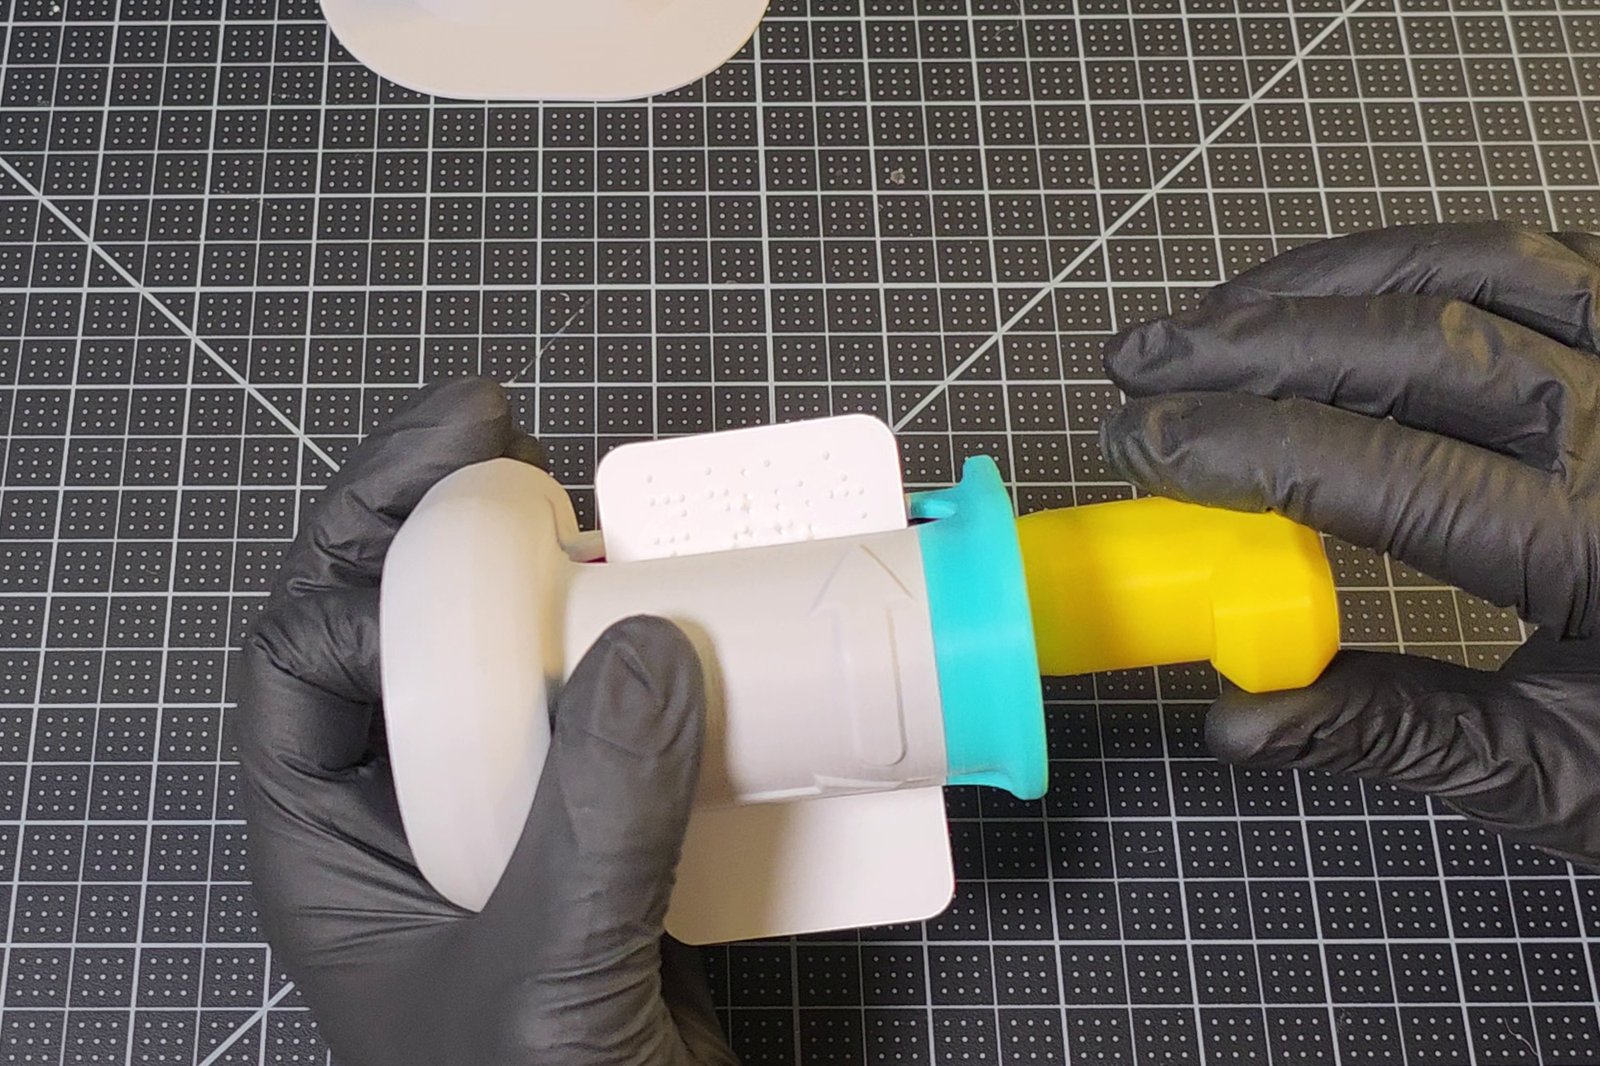
The card comes out of the window at the front with the braille pressed into it. The raised arrow on the Base shows the card's direction of travel by touch.
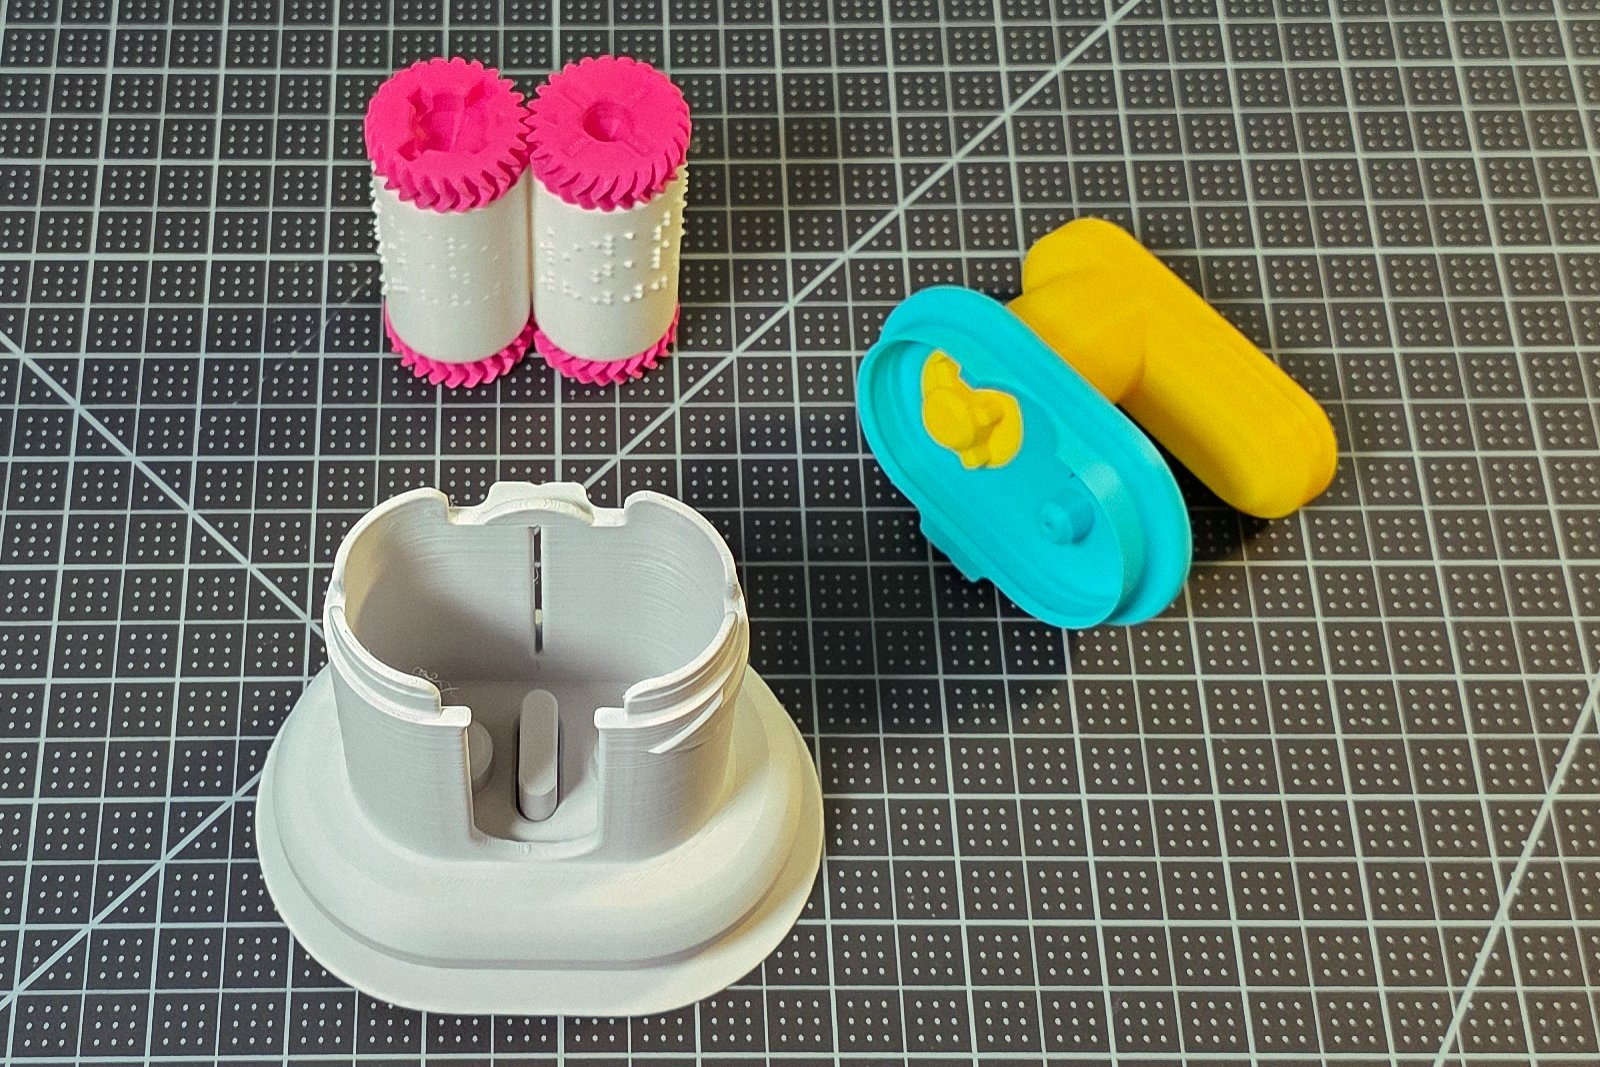
Changing the message: the cylinders lift out as a pair, and a new pair drops in.