Ready to print
Get the files
- Customize the one-sided puller in the web app (OpenSCAD Assistive Forge)
- Customize the two-sided puller in the web app (OpenSCAD Assistive Forge)
- Source files on GitHub (openscad-plug-puller, with the ready-to-print library and the guides)
- Download the Parametric Plug Puller (Customizable) on Thingiverse
The Plug Puller is a 3D-printed tool for pulling an electrical plug out of an outlet with the whole hand instead of a fingertip pinch. Two fingers go through two finger holes and pull straight back, and the tool touches only the plug’s sides and back, never the outlet. It is for anyone who cannot grip a plug and pull it: arthritis, low grip strength, tremor, a small hand, one hand. Measure the plug and the hand, or pick a preset, and the model shapes itself to both.
Version 1.0, released in October 2026, is the first full release after a run of public preview versions. It comes as two tools, each its own customizable file, and you choose by counting the plug’s prongs:
- The one-sided puller, for plugs with 2 prongs and for USB-C tips: one printed part with a pocket the plug lies in, a cord hook, and holes for zip ties or openings for a strap. Presets: USB-C laptop tip (new in 1.0 and not yet test-printed), flat 2-prong lamp plug, wide 2-prong appliance plug.
- The two-sided puller, for plugs with 3 prongs and for any plug 24 mm thick or more: two identical toothed plates that zip-tie face to face around the plug. Presets: standard 3-prong plug, heavy-duty extension cord.
Test prints decided the split. The one-sided puller held every 2-prong plug, but 3-prong plugs slipped out of it; the two-sided plates held both 3-prong plugs, but let every 2-prong plug and the USB-C tip fall out however tight the zip ties were. A 3-prong plug has long straight sides for the teeth to bite along.
Three ways to get a tool
- Customize in your browser. The two links above open each tool in the OpenSCAD Assistive Forge, nothing to install. The form is numbered: Step 1, your plug (a preset, or its measurements in millimeters); Step 2, your hand size (Small, Medium, Large, or your own finger and hand widths); Step 3, how the tool attaches; Step 4, the cord hook’s side or the print layout. Export the STL (stereolithography) model file and print it. Your measurements stay on your device.
- Customize on your computer in the free OpenSCAD desktop program, where the same numbered form appears in its Customizer panel and renders faster.
- Download a ready-made STL. The repository holds every preset at all three hand sizes, 15 tools in all. Not sure which preset? Print the plug size finder page at 100 % and lay your plug on its true-size outlines.
The three hand sizes come from the ANSUR II hand-measurement survey (the United States Army’s 2012 anthropometric survey): Small fits about a 5th-percentile female hand, Large about a 95th-percentile male hand, and Medium is the print-tested reference device. If a number cannot work, the model prints a red warning tag beside the part naming the measurement to fix, so a bad print is caught before it starts.
Printing, assembly and use
Print flat on the bed as the file comes, with no supports, 0.2 mm layers, 3 to 4 walls and 25 to 35 % infill, in PETG (polyethylene terephthalate glycol) or PLA (polylactic acid). A tool takes about 12 to 27 g of filament, plus two or three zip ties. The two-sided file holds both plates: lay the plug on one plate between its toothed arms, turn the other plate over on top, thread three zip ties through both plates and across the plug, pull them tight and trim the tails. The one-sided puller seats on the plugged-in plug, the cord presses into the hook, and zip ties or a strap hold it on. Then two fingers go through the holes and the pull is straight back. Do not use it on a damaged cord, a cracked plug, or a plug that is warm to the touch, and reprint a tool that cracks.
The repository’s documentation follows the Makers Making Change Open AT (open assistive technology) template: a Maker Guide, an Assembly Guide By Touch that says every step for the hands, a Visual Assembly Guide without words, a User Guide, a bill of materials, and a quick start and a full guide for each tool, every one also a tagged PDF (portable document format) file. One limit is worth knowing: the presets are United States plug types (NEMA, the National Electrical Manufacturers Association standard); the measure-it-yourself path may suit other regions’ plugs, but that is untested.
For the original fixed-size design that prints ready to use, see the separate Plug Puller - Assistive Technology Solution from WATAP. The project was made possible with support from the Washington Assistive Technology Act Program (WATAP) and the University of Washington Center for Research and Education on Accessible Technology and Experiences (UW CREATE).
Photo gallery
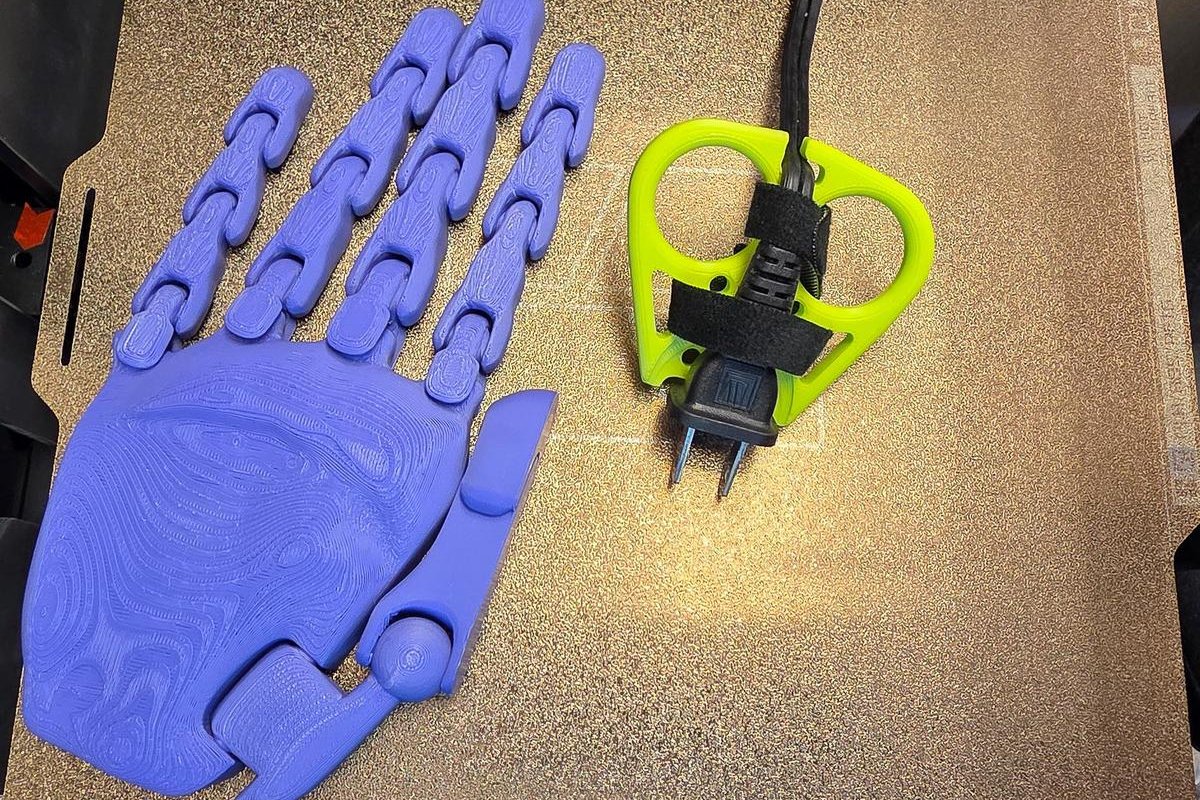
The one-sided puller, for 2-prong plugs and USB-C tips: the plug lies in its pocket, the strap passes through the two wing openings, and the cord sits in the hook.
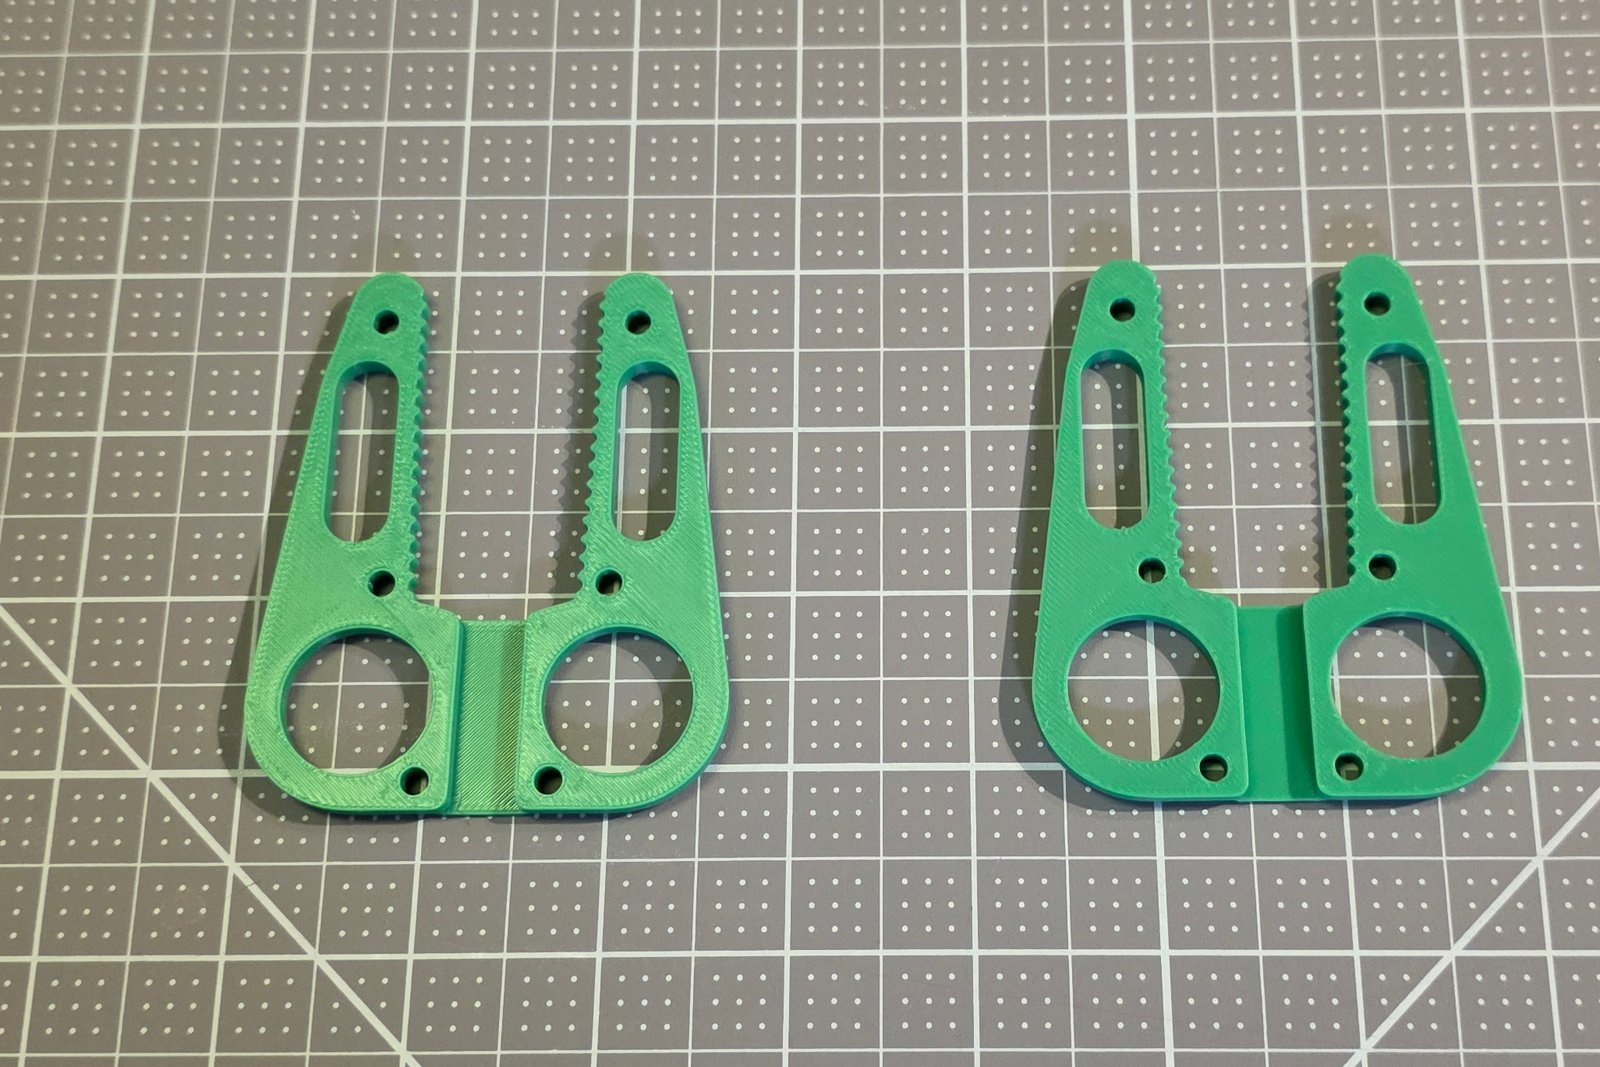
The two-sided puller prints as two identical plates from one file.
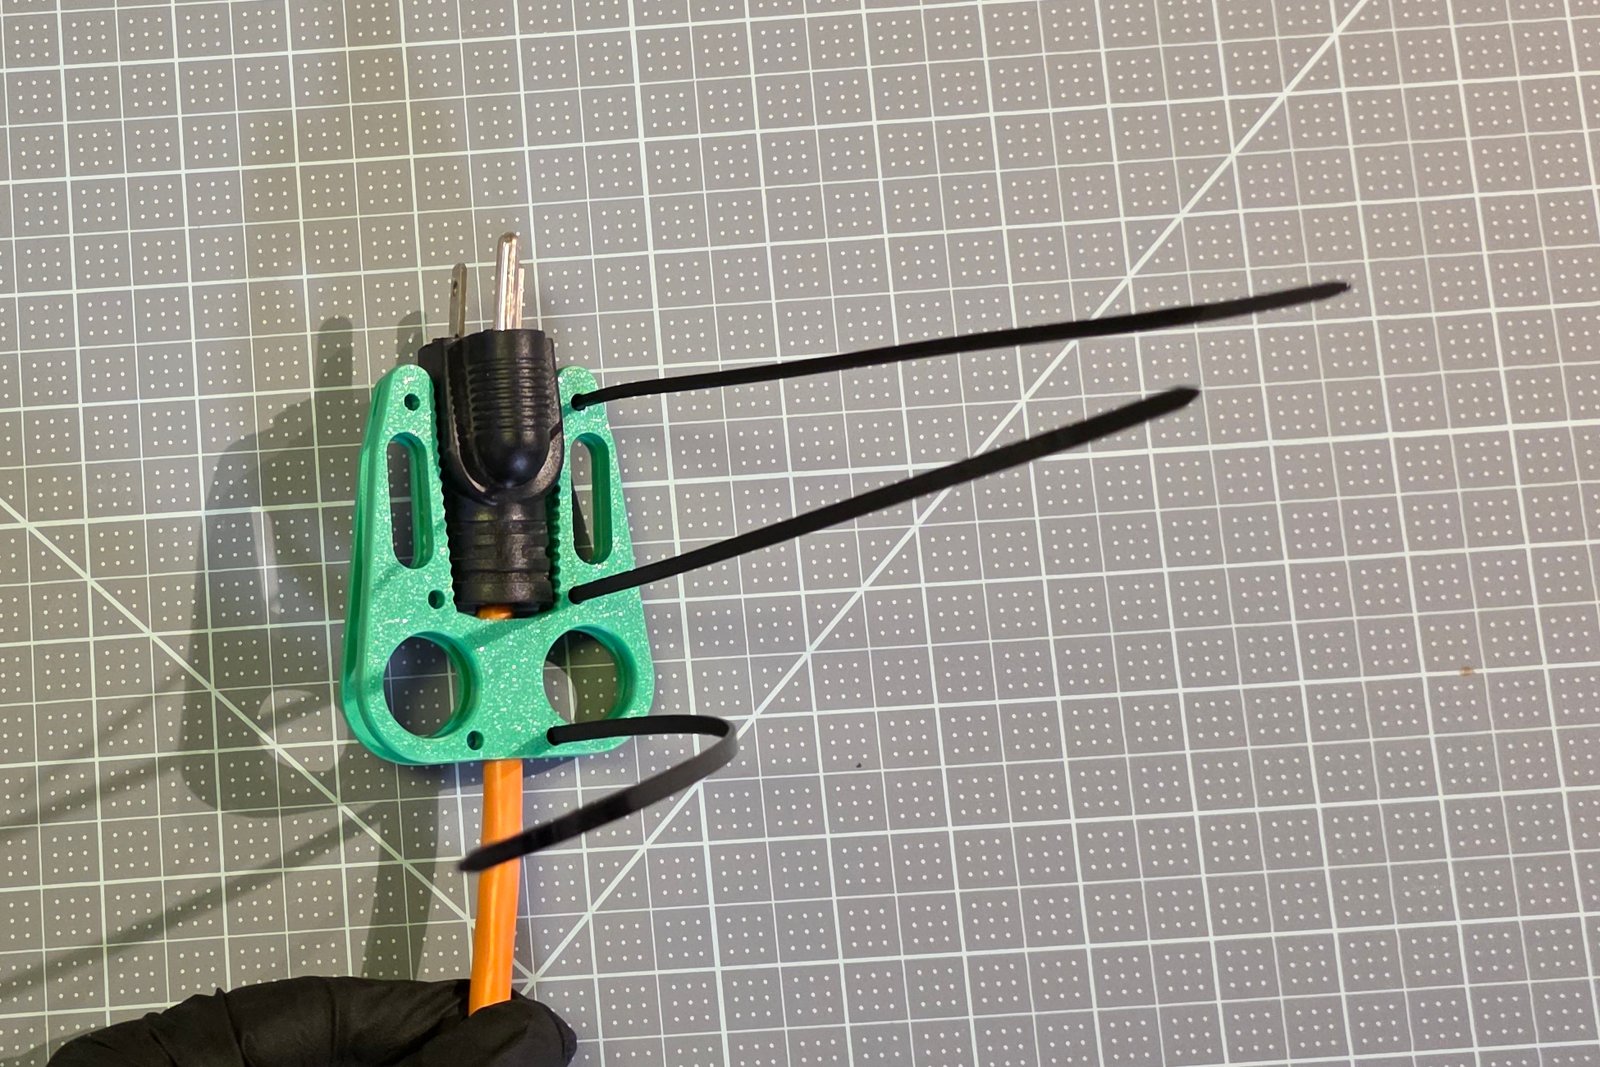
Assembling the two-sided puller: the plug goes between the plates, and three zip ties go through both plates and across the plug.
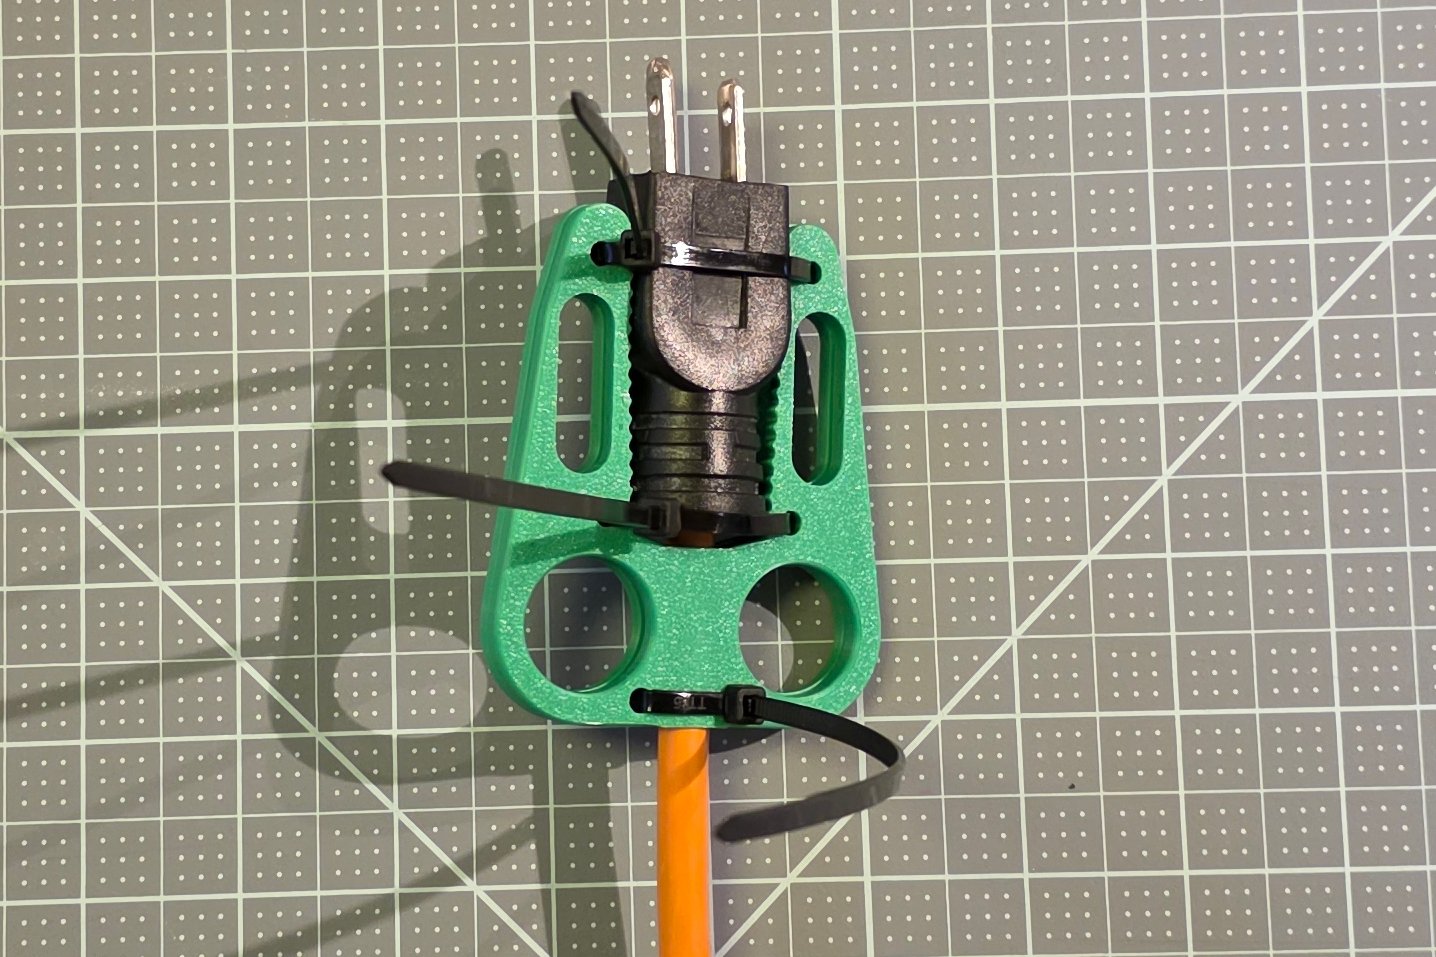
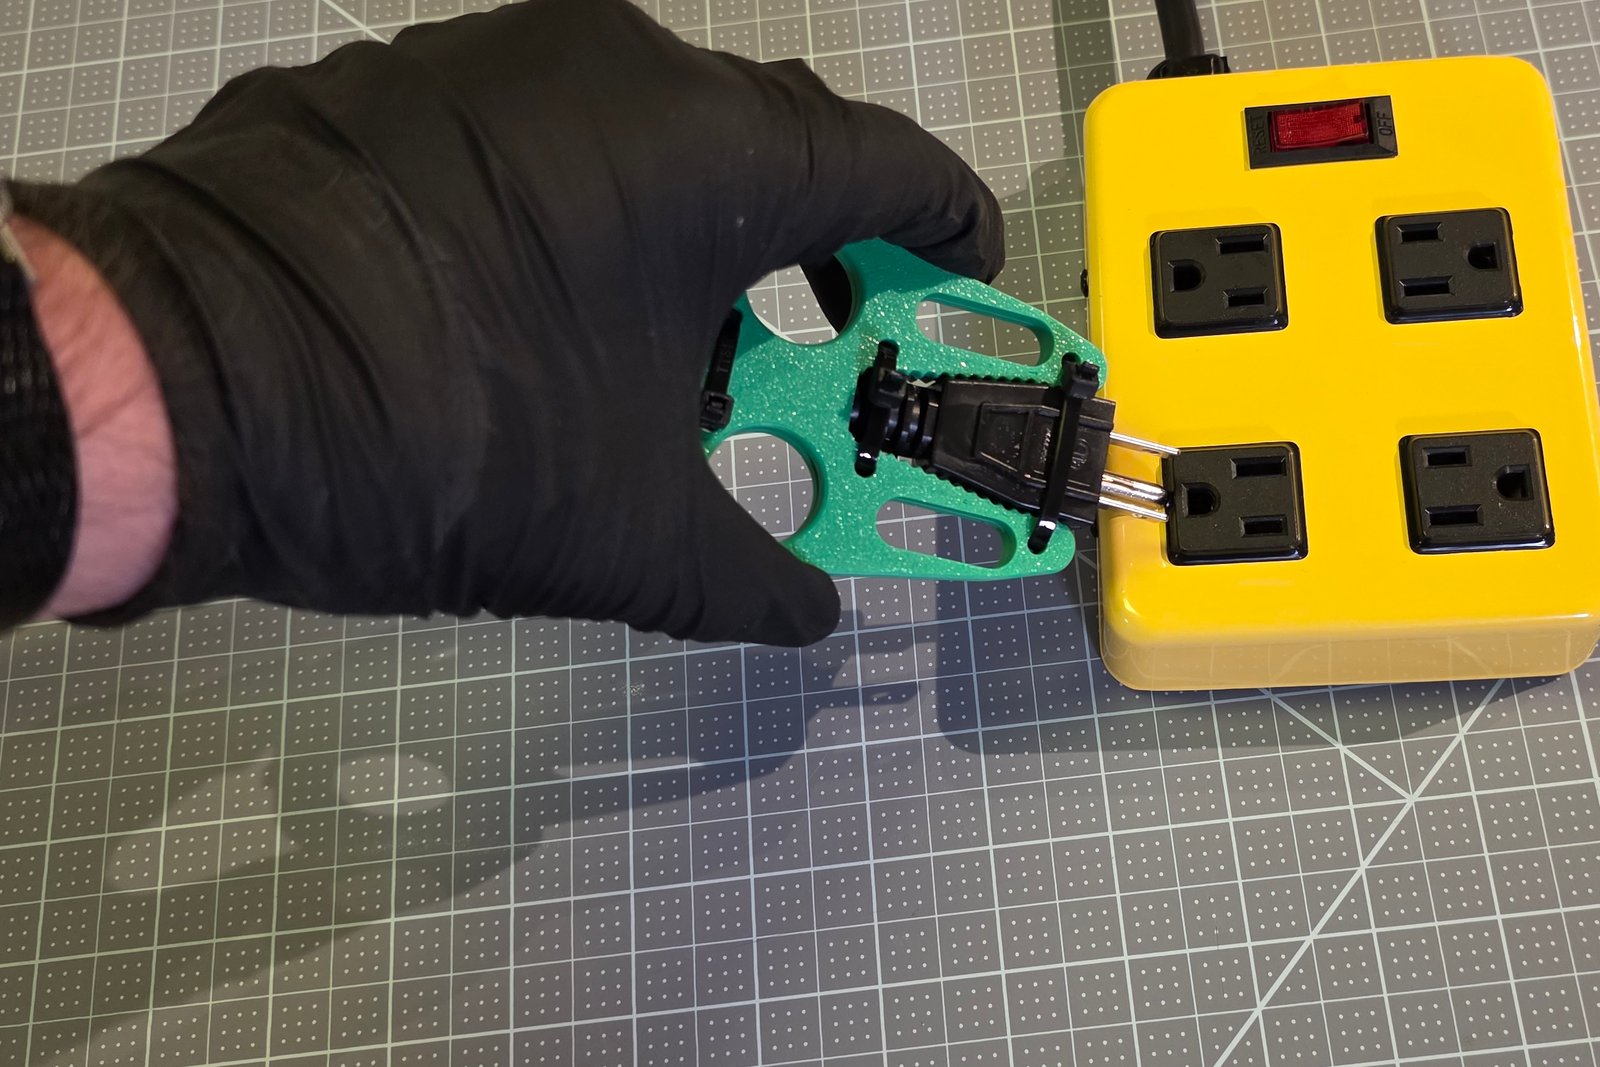
The finished two-sided puller on the heavy-duty extension-cord plug. The tool stays on the plug between uses.
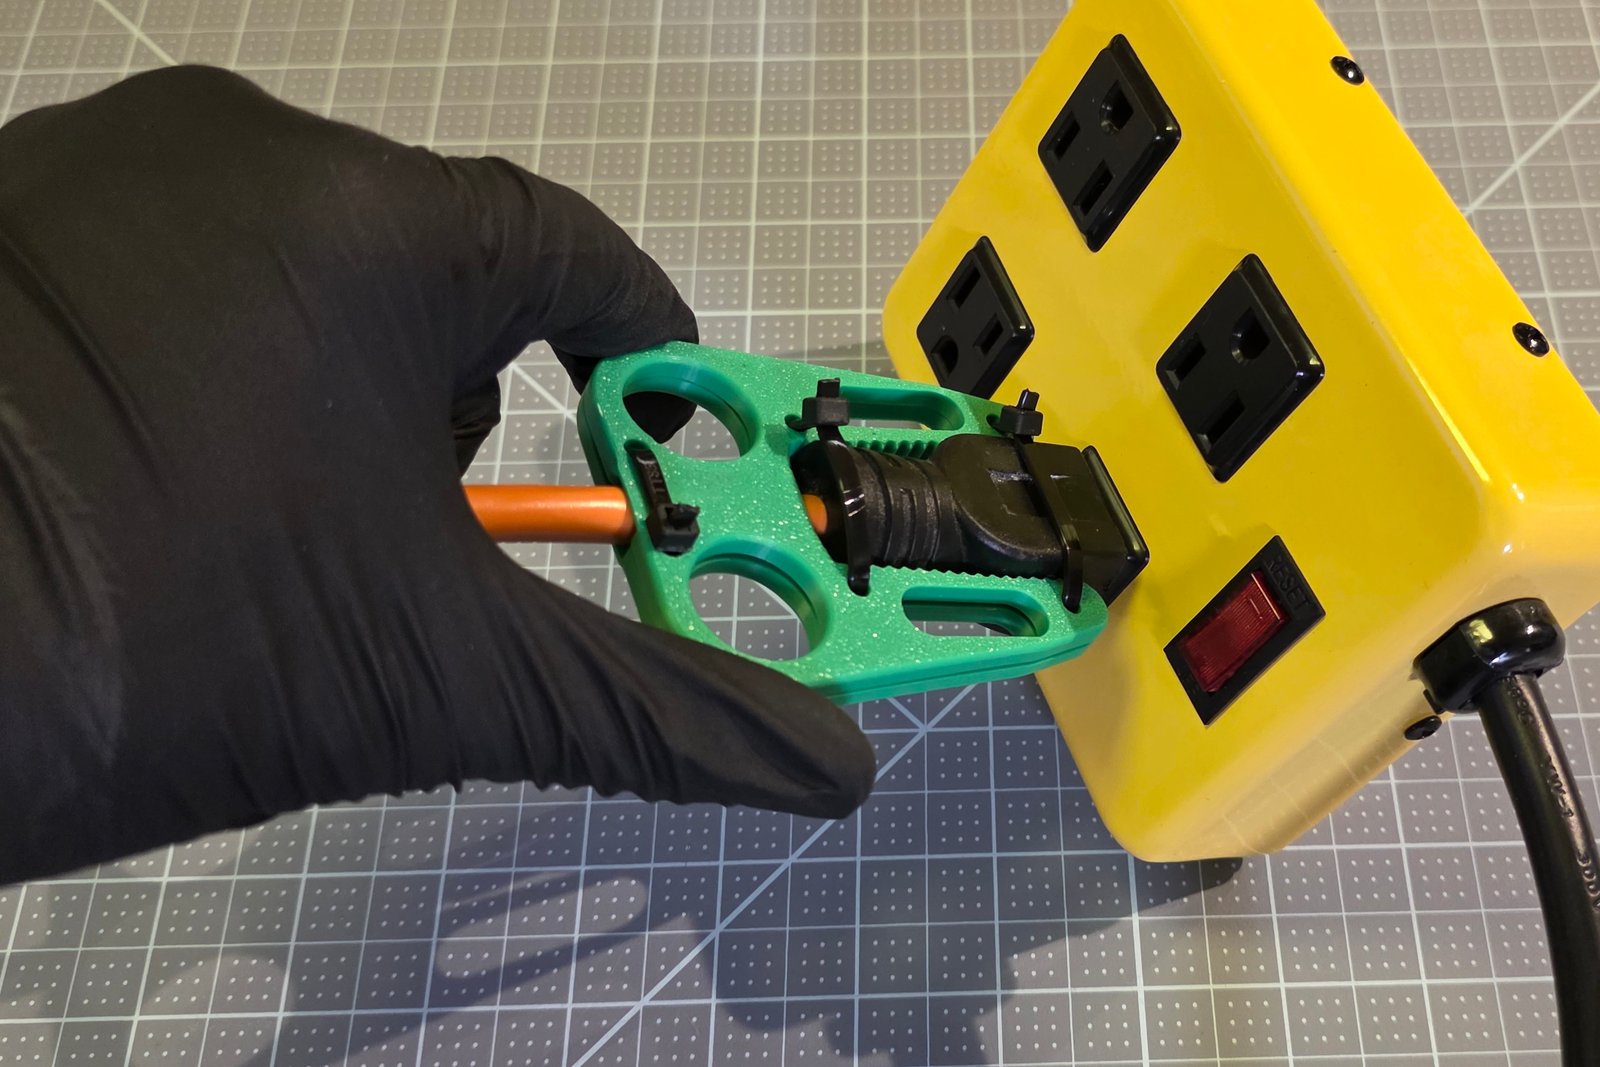
Pull straight back, away from the outlet, never sideways.